 Passquare
Set up and connect the signup form
Activate the form
Go to Issuing cards and click Create card issuance form.
Set up the Parameters tab
Name and description
You can add a description page to the card issuance form. When a customer opens the issuance form link, this page is shown first.
In the description, you can explain what the card is for or welcome new loyalty program members.
To enable the description page, select the Show description page checkbox, then add a title and description.
Card template
If you use several card templates with different designs, choose the template that should appear for the customer after they register a card.
Web-push parameters
If you use the Web-push app from the Passquare marketplace, you can set a URL that opens when the customer taps a push notification.
Color scheme
The light color scheme is used by default. Other color schemes are available on Advanced plans and above.
Language
You can choose the language for the issuance form. System headings on the form will appear in the selected language.
If the language you need is not in the list, contact Passquare support.
Phone verification
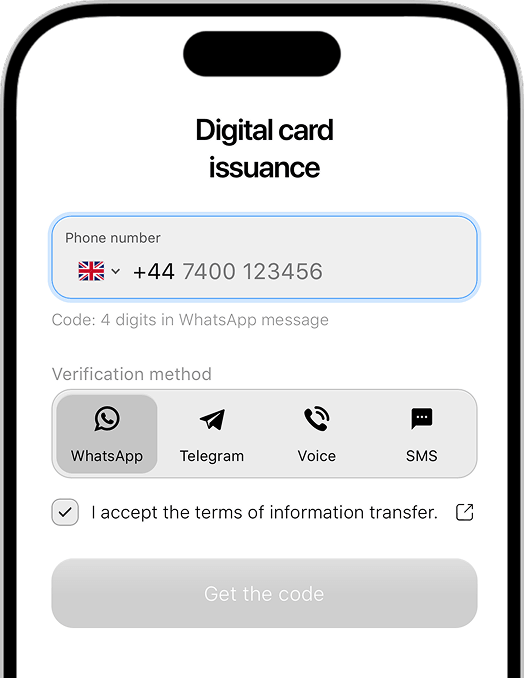
You can enable phone number verification. To receive a card, the customer must confirm the phone number they entered by typing the code they receive. Learn more about verification.
Phone number format
You can set the phone number format. When a number is entered, it is checked against the selected format.
For example, for a US mask the allowed format is: +1 XXX XXX XXXX
For a UK mask: +44 XXXX XXXXXX
For the All countries mask:
- +XXX XXX XXX XXX
- +XXX XXX XXX XX
- +XXX XXX XXX X
Set up the Fields tab
You can add fields from the ready-made list to the issuance form, as well as your own fields.
To include a field in the issuance form, turn on the toggle in the Status column.
You can then make the field required or leave it optional for the customer.
To make a field required, select the checkbox in the Required column.
To add your own field, first create a variable. Field types are described in Add fields to the signup form.
If you need to rename an existing field, click its name.
In the window that opens, enter the name you need in Display name and save the settings.
Set up the Agreement tab
In this section, add the personal data processing agreement.
You can add an agreement you already use or edit the template. Consult a lawyer if needed.
Set up the Installation tab
In this section, you can copy the issuance form link to share how to get a card on your website or social media.
You can also download a QR code, print it, and place it in your venue.
If you need to embed the issuance form on your website, choose one of the installation options:
- Embed the form on a page of your website
- Embed a button on a page of your website
- Connect the form to a button on your website
Copy and add the HTML code to your website, or send it to the specialist who maintains your site. If you do not have a website yet, you can create one on Tilda.
Get started free
Try Passquare — it’s free & easy.
Create an account, set up your signup form, design your cards, issue a few wallet passes, and send your first push notifications.
Sign up for free